Friday, May 28, 2010

Cooking Lessons Continue

Next on the menu are Comfort BBQ Meatballs. *sigh* More meat. I'm sensing a theme here and I'm not exactly sure what it means.


First you need to put about a pound to a pound and a half of ground beef in a bowl and then add your oats.


Then add a cup of milk


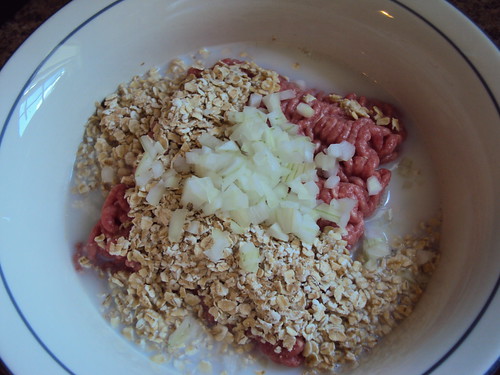
Then you need to finely chop some onion. Not too much. A couple of tablespoons will do. Now add that to the bowl.


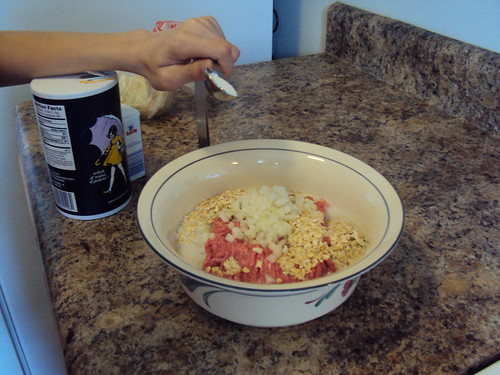
Oh yeah. Don't forget the salt and pepper. Son, that seems like an awkward way to put salt in a bowl. Is your hand on backwards or something?


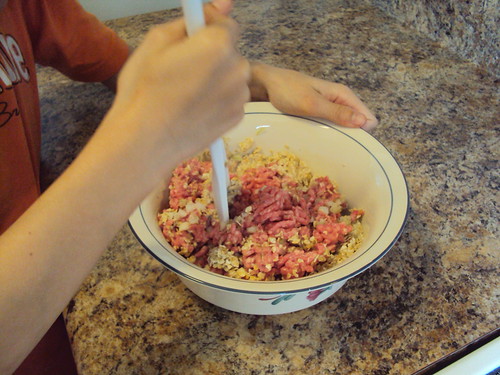
Now give it a stir. Mmmm, oatmeal cookies. Oops, sorry forgot where I was there for a moment.


Roll the meat mixture into little balls and refrigerate for about 45 minutes, so that they firm up a bit. Otherwise, they will fall apart when you try to brown them.


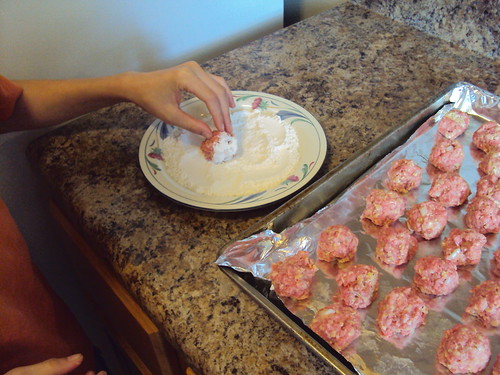
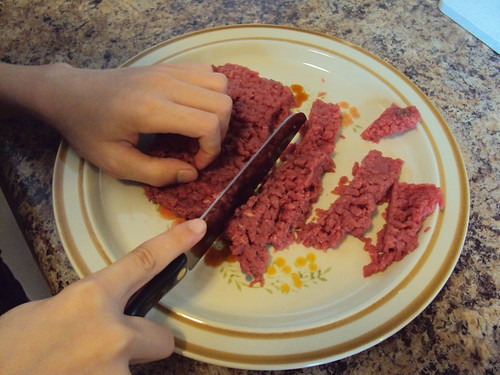
Once those little meatballs are cold give them a roll in some flour, just enough to lightly coat the outside.


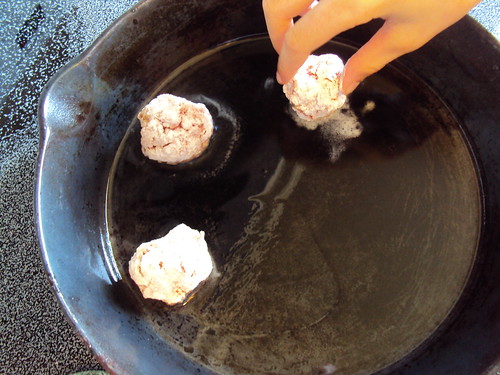
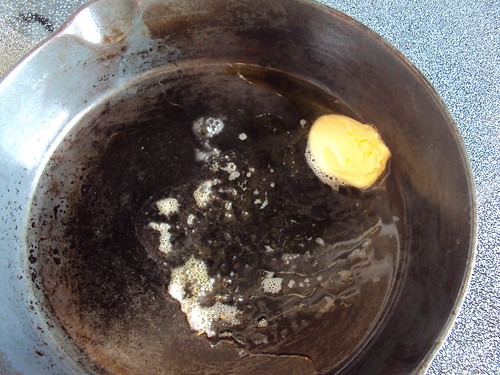
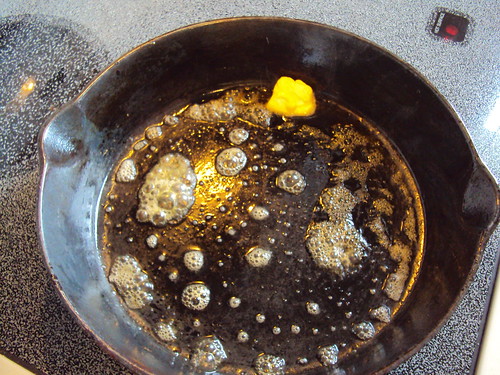
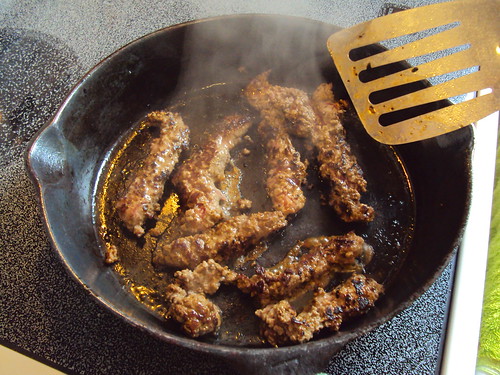
Place the flour coated meatballs in a skillet and brown on all sides.


Work in small batches. If you learn nothing from Julia Child, learn this, do not crowd the pan. Transfer the browned meatballs to a casserole dish.


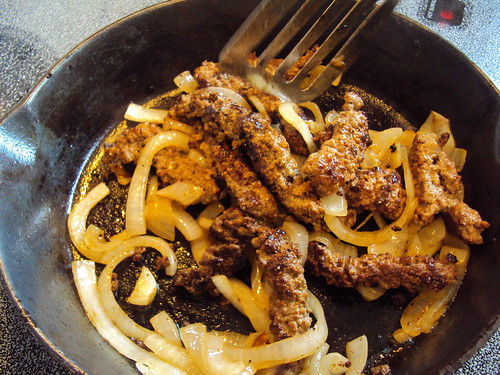
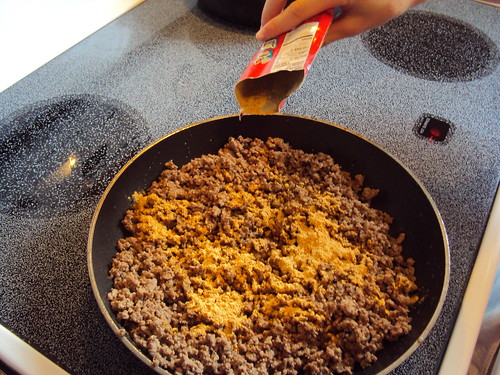
Once you've got the meatballs all browned, make the sauce. You'll need ketchup, sugar, white vinegar, Worcestershire sauce, hot sauce, and some more finely diced onions.


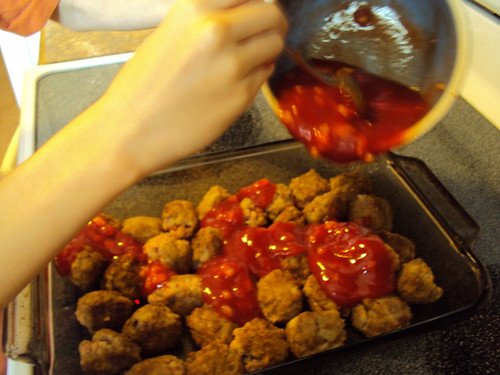
Pour the sauce over the meatballs and wish for better lighting in the kitchen. The meatballs look a little yellow. Moving on.


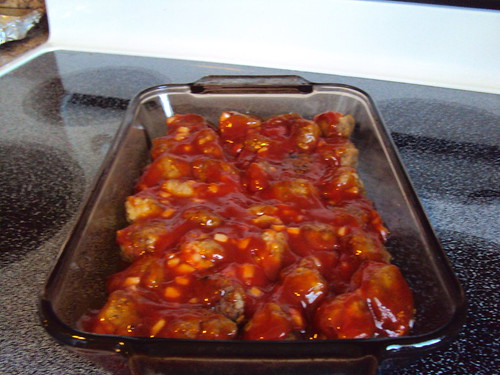
Cook in a 350 degree oven for about 45 minutes.


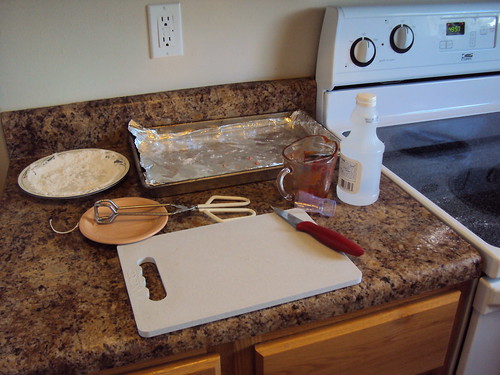
While you are waiting for the meatballs to cook, clean up your mess. Mom doesn't like a messy kitchen.


This cute, little creature will be happy to help you clean up the floors.


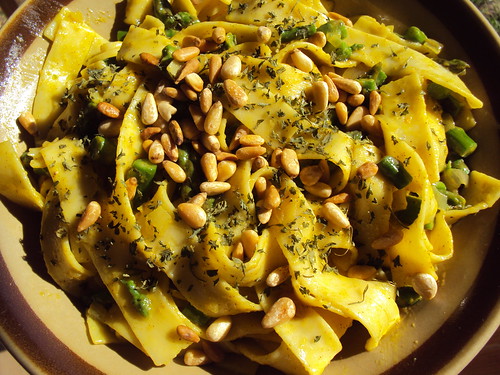
And just to balance out all this meat, here is what I had for dinner. Pappardelle with spiced butter.

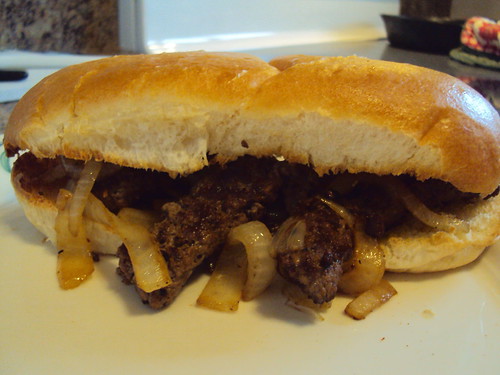
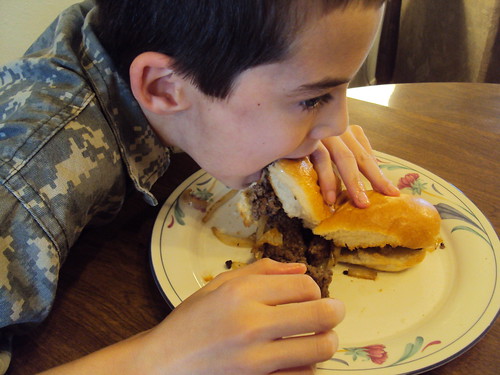
My son could eat his weight in these sweet and tangy meatballs. Try them. You'll like them.

Wednesday, May 26, 2010

My Daily Walk

There is a wonderful walking trail behind my house. I usually walk in the mornings and then my son and I ride our bikes in the evenings down this trail. These are some of the sights I see on the way. The pictures were taken with my phone, so they are not great quality.


This is a picture of a community park that thinks it's a farm, or maybe it's a farm that thinks it's a community park. Either way, it's a cool concept and it has a playground, a fishing pond, lots of barnyard animals, and plenty of gardens.

Wednesday, May 19, 2010

Steak Sandwiches

Steak Sandwiches? What the heck? I'm a vegetarian! Oh, well. I'll find something else to eat. My son saw this recipe in the Pioneer Woman Cookbook and wanted to make it. Who am I to deprive a little carnivore? We didn't have any Worcestershire sauce and he didn't want any of Frank's Red Hot. Actually, he did at first, but then chickened out at the last minute. What I'm trying to say here is our version is a loose translation of Ree Drummond's version. Let's get on with it, shall we?


First you slice an onion. I was told the goggles were for the deadly onion fumes. I'm not sure what the fatigues were for. It may have something to do with the fact that we are currently getting a free preview of the Military Channel this month, but I'm not sure. WATCH THOSE FINGERS, SOLDIER!


Add a 1/4 stick of butter to a skillet and melt over medium-low heat.


Add your onion to the pan and caramelize them. Stirring occasionally.


While you are waiting for the onion to caramelize, go ahead and slice up some cubed steak into 1 inch strips. I think I need to buy a cutting board specifically for meat, because I refused to let my son cut his meat on my veggie cutting board. Sorry, ain't gonna happen. WATCH THOSE FINGERS, SOLDIER!


Don't forget the onion! You don't want those babies to burn, just caramelize. When the onions are a nice golden-brown color, remove them from the skillet and set aside for a minute.


Back to the steak. Sprinkle it with seasoning. We used seasoning salt, lemon pepper, and black pepper.


Add a couple of tablespoons of butter to the skillet.


Add your strips of steak to the skillet and cook until nice and brown.


Add the onions back into the skillet and warm them back up.


Next, slice yourself a roll. WATCH THOSE FINGERS, SOLDIER! Yeah, he got tired of me doing that too.


Now, butter that roll. Lots of butter in this recipe.


Toast the bread in a skillet, on a griddle, or in the toaster oven as we did.


After your bread is toasted, spoon on the steak and onions. You can add cheese if it suits you. My son wanted it plain.


The verdict: Messy and delicious!

Monday, May 17, 2010

Soft Shell Tacos

My son had his first introductory cooking lesson. I thought it was best to keep it simple and basic, so we went with soft shell tacos.


First you break up the ground beef into a skillet and brown over medium heat. Make sure you stare at it until it starts to sizzle. Oh, okay, that part is optional.


Stir the meat every once in a while as it's browning. Whoa, slow down. The meat is trying to escape. Try to keep as much meat in the pan as possible please. Your mother will thank you for it.


It looks like we're going to have to work on your stirring skills, young grasshopper.


Once the meat has been browned, drain off the fat, and then add a package of taco seasoning.


Then add 3/4 a cup of water, mix it all together, and simmer, uncovered, for ten minutes.


While the meat is simmering, get yourself another skillet over medium low heat and add a dollop of butter. I do believe he's mastered the sizzle.


Next add your tortilla to the pan. We used soft white corn tortillas.


After about a minute, flip the tortilla to the other side and cook until warm and floppy. Yes, floppy.


When your tortilla is warm and floppy, move it to a plate and add a spoonful of your taco meat.


You'll want to add your cheese next. It's essential that you put the cheese on right after the hot taco meat, so that the cheese melts and gets all yummy and gooey. Yes, gooey.


Then add whatever toppings you like, lettuce, tomato, avocado, onions, salsa, sour cream, guacamole, black olives, etc. Go on. Get wild with that taco.


Fold one side over. Look how perfect my son's first taco came out. It's a beaut!


Now, using your best taco neck bend, take yourself a bite and be proud of what you created.


I'm a vegetarian, so I didn't eat the taco meat my son prepared. I had roasted, seasoned, chickpeas instead. YUM!

Sunday, May 16, 2010

Cooking Lessons

My son turned 12 years old yesterday. I've decided it's time he learned to cook, and I don't mean reheating things in the microwave. He's already got that mastered. No, I mean it's time for him to learn to really cook. I'm going to make a good faith effort to document his progress and the recipes we try here on the blog. Wish us luck.